Progress on the house has been slow and the project as a whole has been ill-managed, lemme just say that outright. If we come out of this on the other side without any shiny new mental/physical health diagnoses, it’ll be an accomplishment.
But that’s a whole story for a whole other day. What I can talk about is the bit of progress that has been made on the master shower, so let’s focus on the positive by showing you some pretty photos:
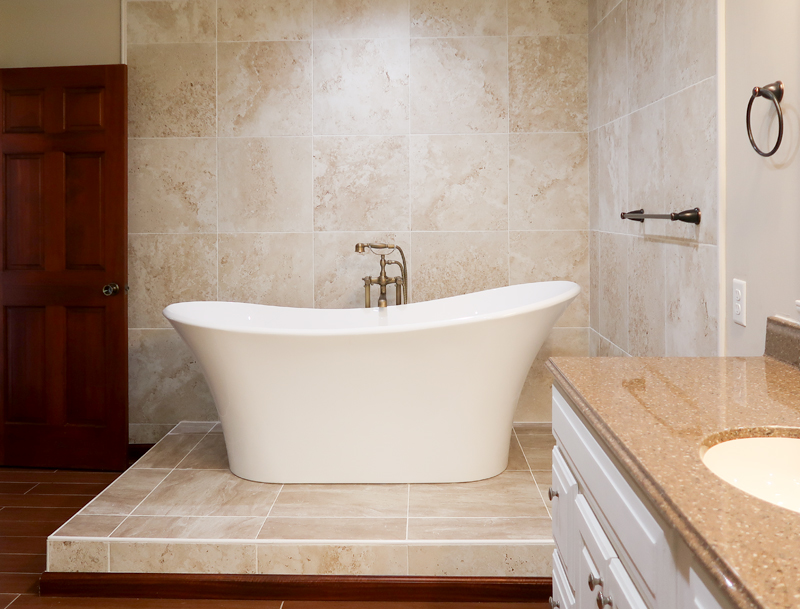
As a reminder, here is what the shower corner of the bathroom looked like when we bought it. There was a large freestanding tub built up onto a platform that housed the plumbing.
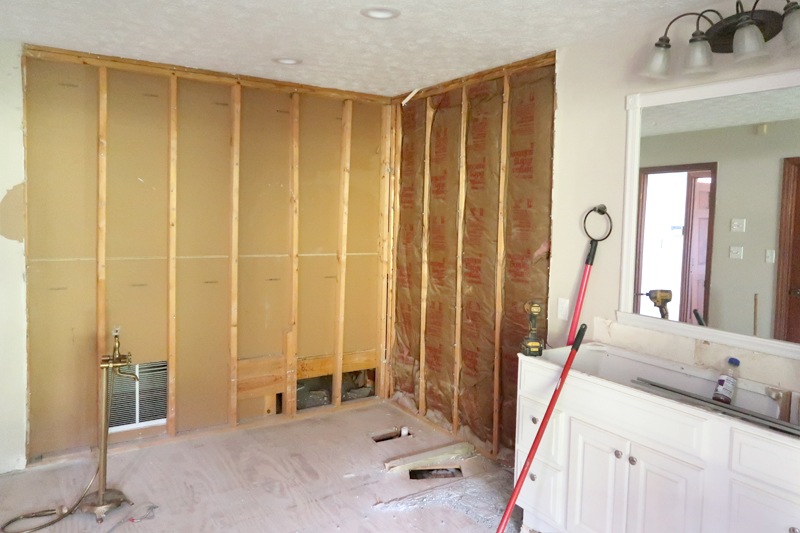
It made more sense to swap the positions of the shower and bath, so we had the whole corner torn out, giving us room to build a much larger shower.

Then the new shower was framed in and our plumber started roughing in the new plumbing – under the floor – where it should have been all along.
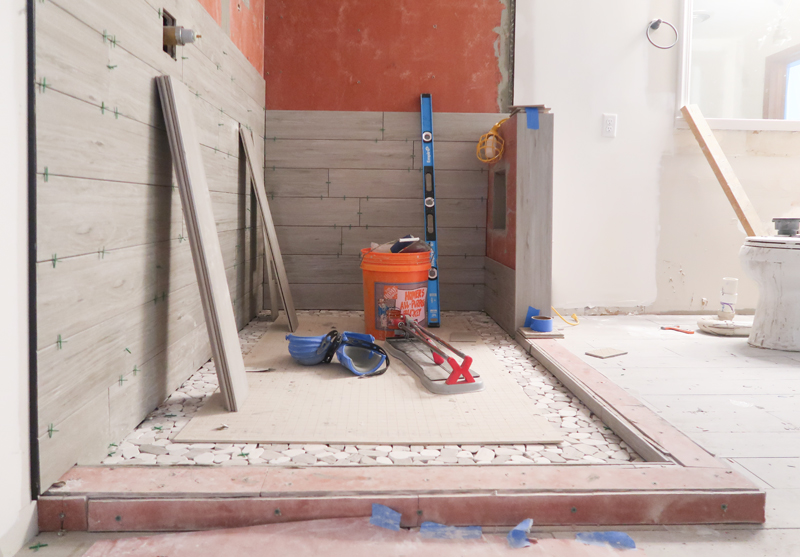
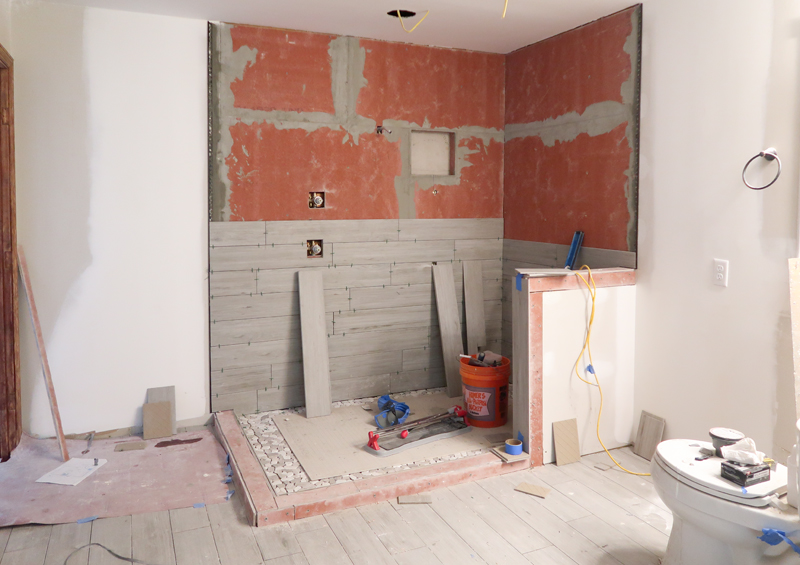
I waffled for weeks over designing this bathroom. My husband and I eventually landed on a contemporary spa vibe using grey wood plank tiles to mimic the look of a sauna.
The floor is coordinating river rock to go along with the home spa vibes, and use of something that looks more natural goes along with typical contemporary style, which emphasizes simple, natural looks and the idea of “bringing nature inside”.
I worked with a local kitchen and bath design gallery to put together a pretty awesome shower system using matte black fixtures and an exposed rail system. Unfortunately, our customer service experience with them has been terrible, so I will not be recommending them or mentioning their name.
… but now that we FINALLY have the fixtures in hand, I’m excited to see them installed.
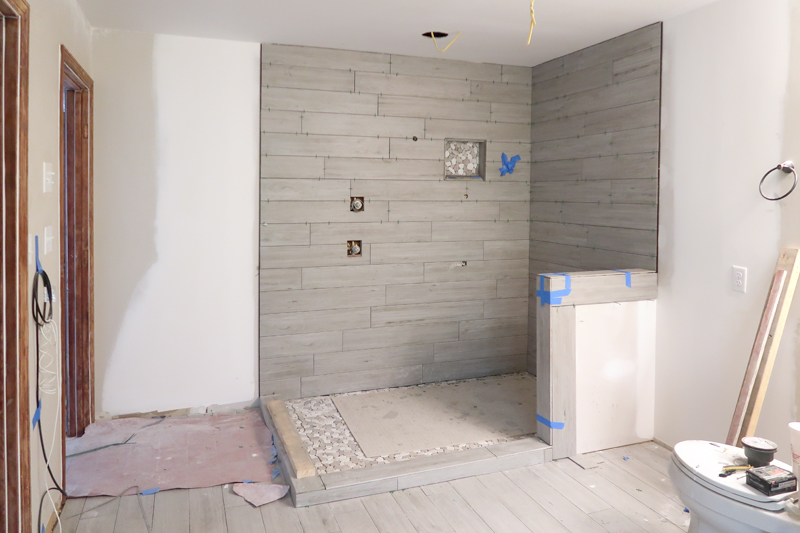
We had to strike a balance between having a place to put our soap/shampoo bottles while also not hurting the clean, sauna feel of the shower. We placed one small niche on the wall with the fixtures that will create symmetry once all of the hardware is installed. A second niche was installed hidden in the knee wall that will anchor one end of the new counter top.
Oh, and how about that updated smooth ceiling? Compare that with the old textured stomp in the second photo – wow!
Materials Used:
Shower Wall and Bathroom Floor:
Floor & Decor Carolina Ash Wood Plank Porcelain Tile
(for some reason, the stock photos of this tile make it look brown – it’s not. It’s gray!)
Shower Floor and Background of Shampoo Niches
Floor & Decor Moonlight Pebble Mosaic Tile
(again, the stock photos are a poor representation of how this looks in person)
Leave a Reply