We’re halfway into Week 2 and things are still moving along quickly. So far, the bulk of the project is focused on continued ceiling scraping, exterior prep for paint which includes taping off the windows, removing old screws and wires, and replacing any rotted trim, and the beginning of the plumbing, gas, and electrical rough-ins.
The most visual change this week has come from the new framing, so that’s what I’ll focus on in this post.

This is the framing for the new shower! We wanted as much glass as possible so the tile on the inside is on display. The only framing needed was the curb around the pan, and a narrow half-wall that we will anchor the new leg room space we added to the existing vanity cabinets.
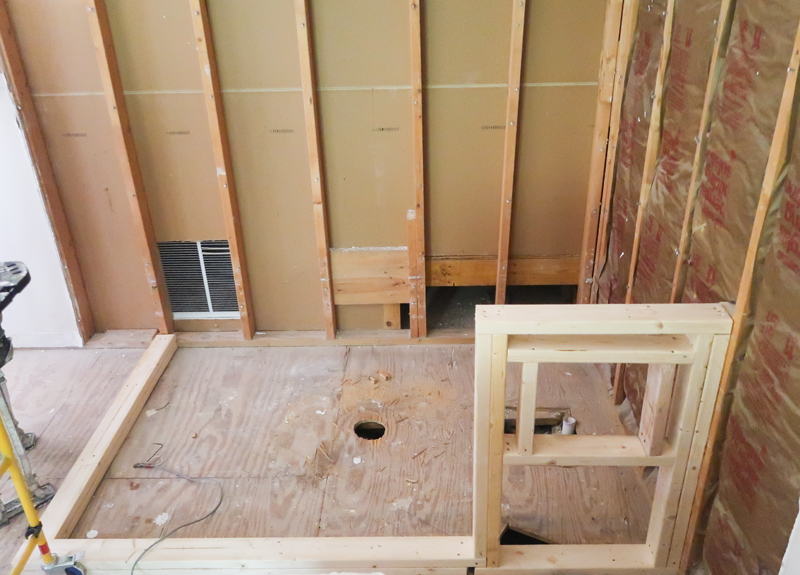
The door will be on this side and will open out onto some heated flooring (purrrr). This photo also shows a better angle on the knee wall with one of the bottle niches framed in. There will be another, larger niche on the longer main wall.
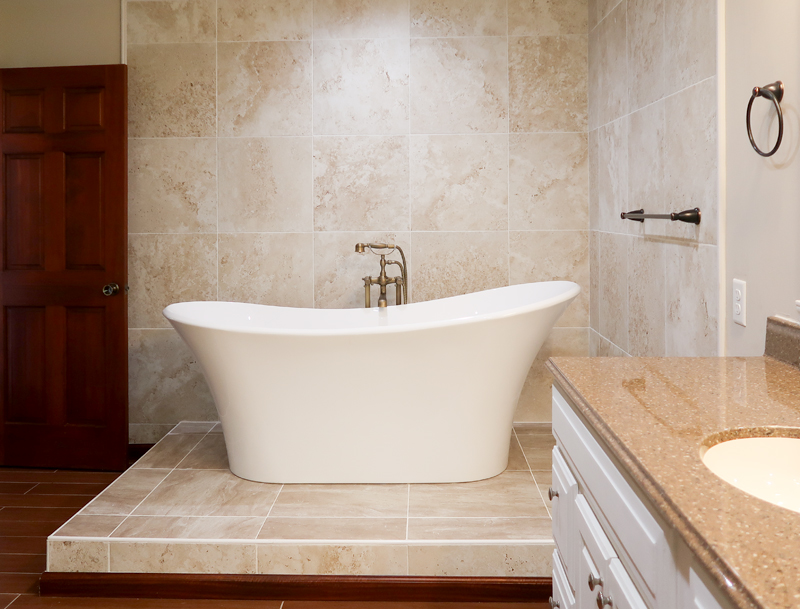
This is what that same corner looked like before demo began. The plumbing for the tub was built into a raised platform. The left corner was a tripping hazard when walking into the bathroom.
Instead, we’re putting a much smaller – this tub was HUGE – freestanding tub in front of the window on the opposite side of the room.
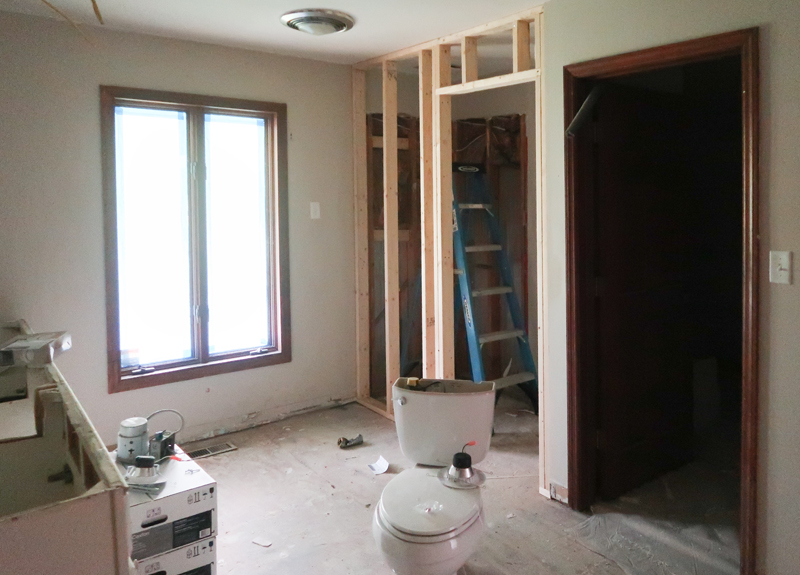
On the other side of the master bath, the new location for the “water closet” was framed in (saying that always makes me giggle). Note the sad little displaced potty. Kinda looks like he’s asking the camera for help.
The toilet will be tucked away in this little room, offering more privacy than was there previously. The existing nook made this corner an ideal location for it.
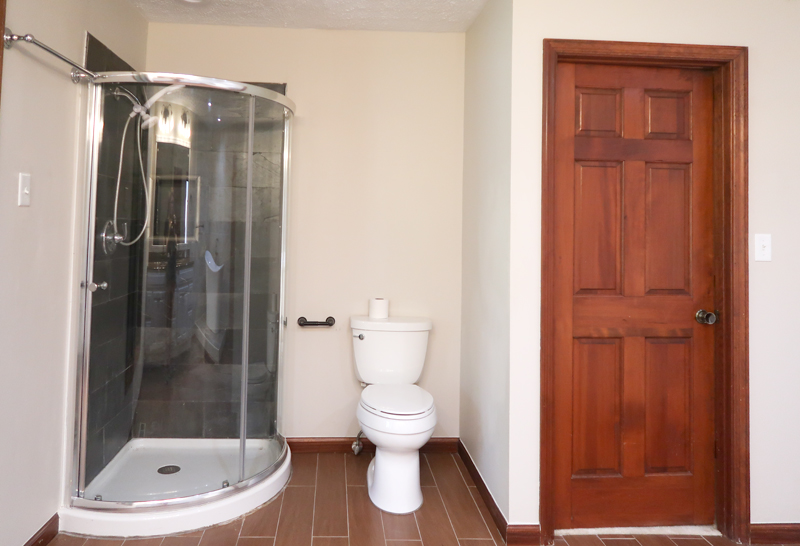
Here’s that same area before demo began with the tiny corner shower with black (?) tile and exposed toilet right across from the big mirror on the opposite wall.
Not really into watching myself visit the loo.
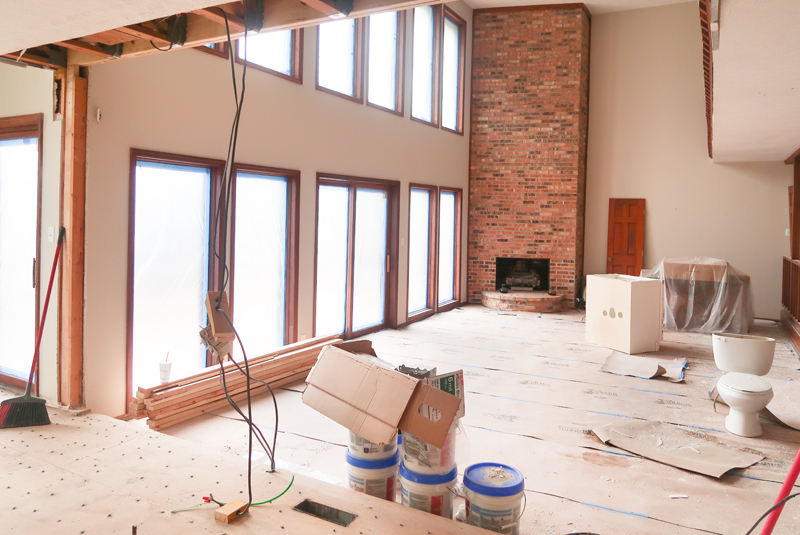
This photo represents some UN-framing. The support beam has been fully installed and the support walls that were left in place for safety have been removed, opening the space all the way up.
And hell-O, yet another random potty. While a toilet in the living room would be convenient, that’s not that fella’s final home, don’t worry.
Oh, this will blow your mind. This photo was taken from almost the exact same location before the demo began. I mean… wow.
That. Wall. Should. Have. Never. Existed.
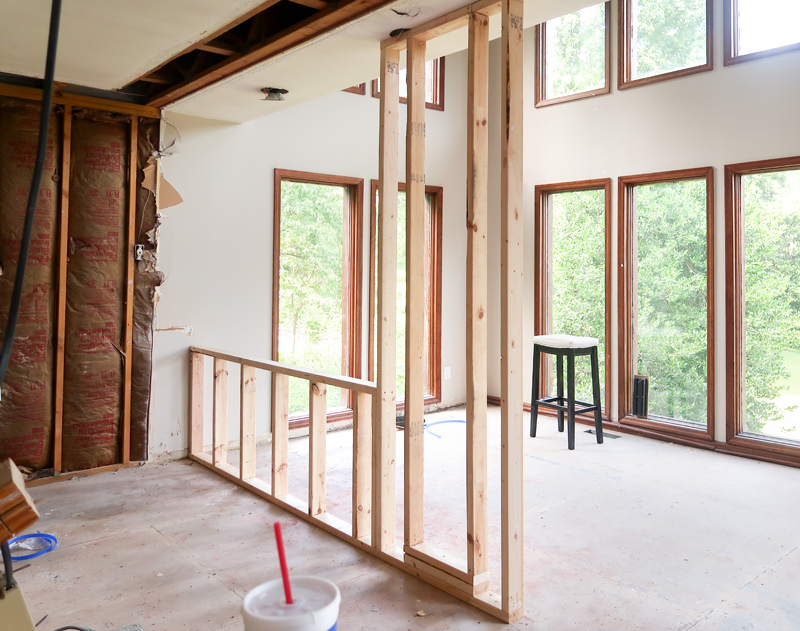
This is the framing for the back of the new cabinet peninsula. I didn’t want the breakfast area – where the windows are in this photo – to be looking at the raw backs of the cabinets, so we’re having the back framed and sheet rocked so it can be painted and look like a regular wall.
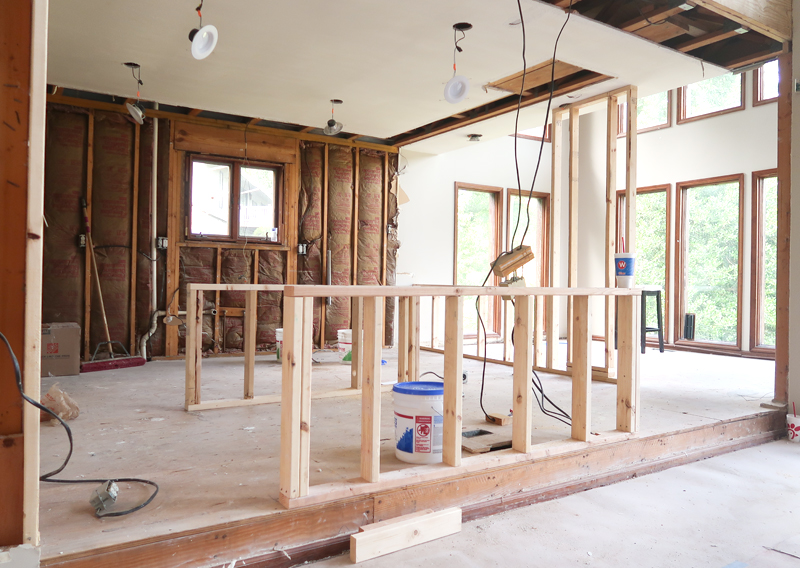
The kitchen itself got two half-sized walls framed in. The one in the foreground is to anchor the base cabinets that will create a bar that will border the step-down into the living room. There will be bar seating on the living room side, because on that side the counter will be bar-height. But on the kitchen side, the same top will be counter-height workspace. The elevation change from the kitchen to the sunken living room just happens to be the exact change between bar and counter height tops – exciting how that worked out!
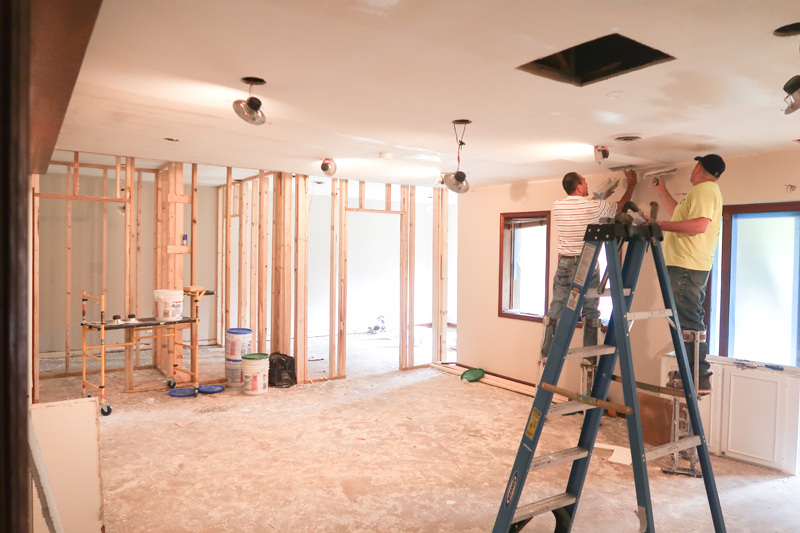
The basement got all framed in a couple of days ago, but here’s another shot of the prettiness. And of our hardworking ceiling crew putting another coat of mud on those pesky stomp ceilings. That’s a long, dirty, expensive job.
But man, if seeing those ceilings go from textured swirlies to smooth and updated doesn’t totally change the aesthetic of the entire house.
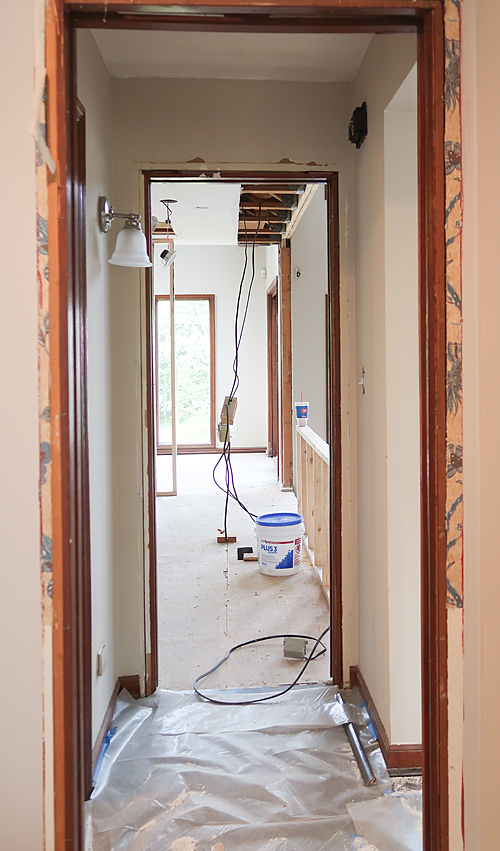
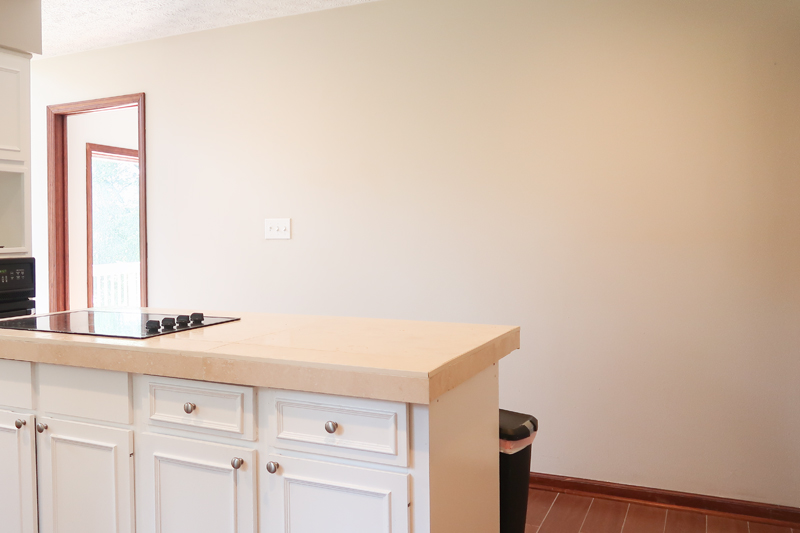
This is the little hallway between the kitchen and dining room. When the wall was removed, a peculiar area of useless doorways was created.
We decided to remove the door trim and have the walls shaved down flush to open up the hallway a little more and hopefully improve this strange area.
So far, the trim has been removed, and next the sheet rock guys will come in and flush everything out. We’re excited to see how it’ll look.
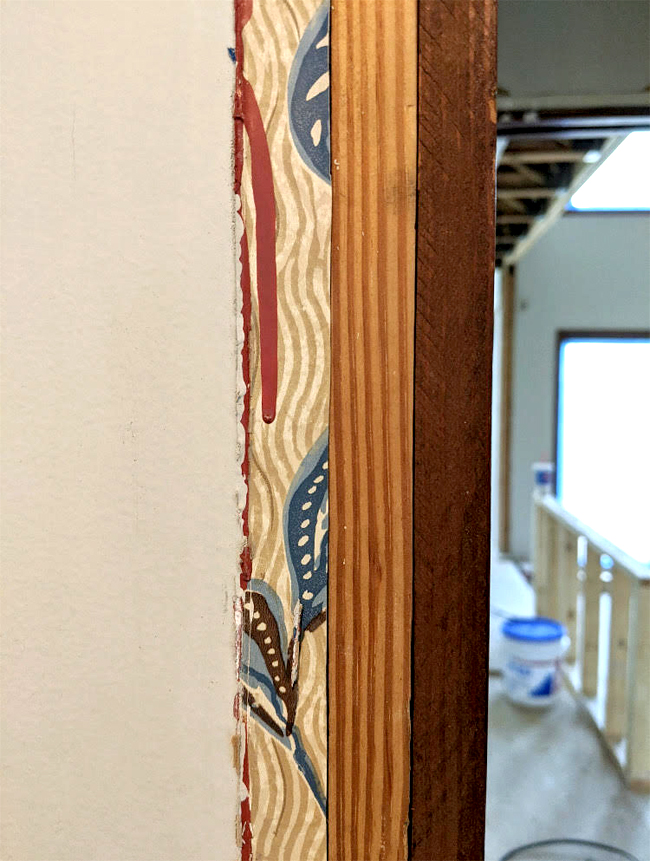
But check out this stylin’ wallpaper that was hiding behind the door trim in the dining room! It also looks like the room was painted dark red at some point. Because the wallpaper was under the trim, that suggests that it is original to the house.
I love finding this kind of thing – I’m so interested in every bit of the history of this old house.
Stay tuned – next up I address temporary housing during a major remodel… with kids… during a pandemic. I’ll also chat about the measures we’re taking to stay safe during this insane time.
Want to follow along with our contemporary home remodel? Enter your email address below to be notified every time we post something new!
Leave a Reply